Inspecting Roof After a Storm: Best Practices
Signs of Roof Damage During a Storm
The most common signs of roof damage after a storm include:

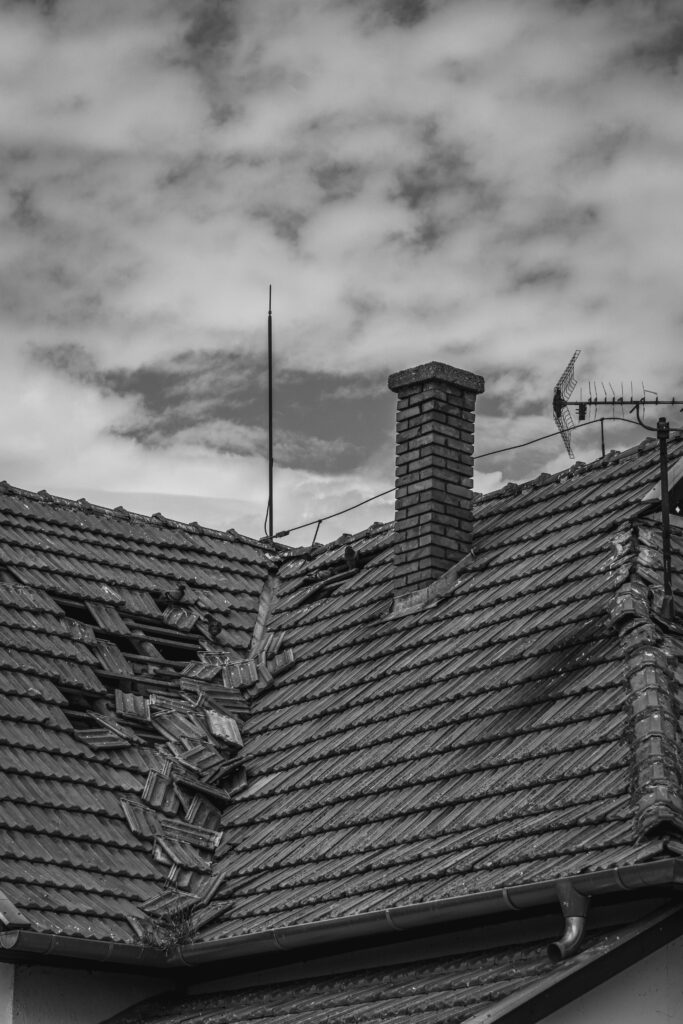
Missing or Damaged Shingles
One of the most visible indicators of storm damage is missing or damaged shingles. High winds and hail can cause shingles to crack, curl, or completely come off, leaving the roof vulnerable to leaks and further deterioration.
Granule Loss
After a storm, homeowners should check for granules in gutters or around the property. The loss of granules from asphalt shingles can indicate significant damage, reducing the roof’s ability to protect against UV rays and weather conditions.
Water Leaks and Stains
Water stains on ceilings or walls are often a clear sign of roof damage. These stains can indicate leaks that have allowed water to penetrate the roofing system, potentially leading to mold and structural issues if not addressed promptly.
Dents in Gutters and Flashing
Inspecting gutters and flashing for dents or damage can reveal the impact of hail or debris during a storm. If gutters are damaged, it may suggest that the roof has also sustained damage.
Soffit and Fascia Damage
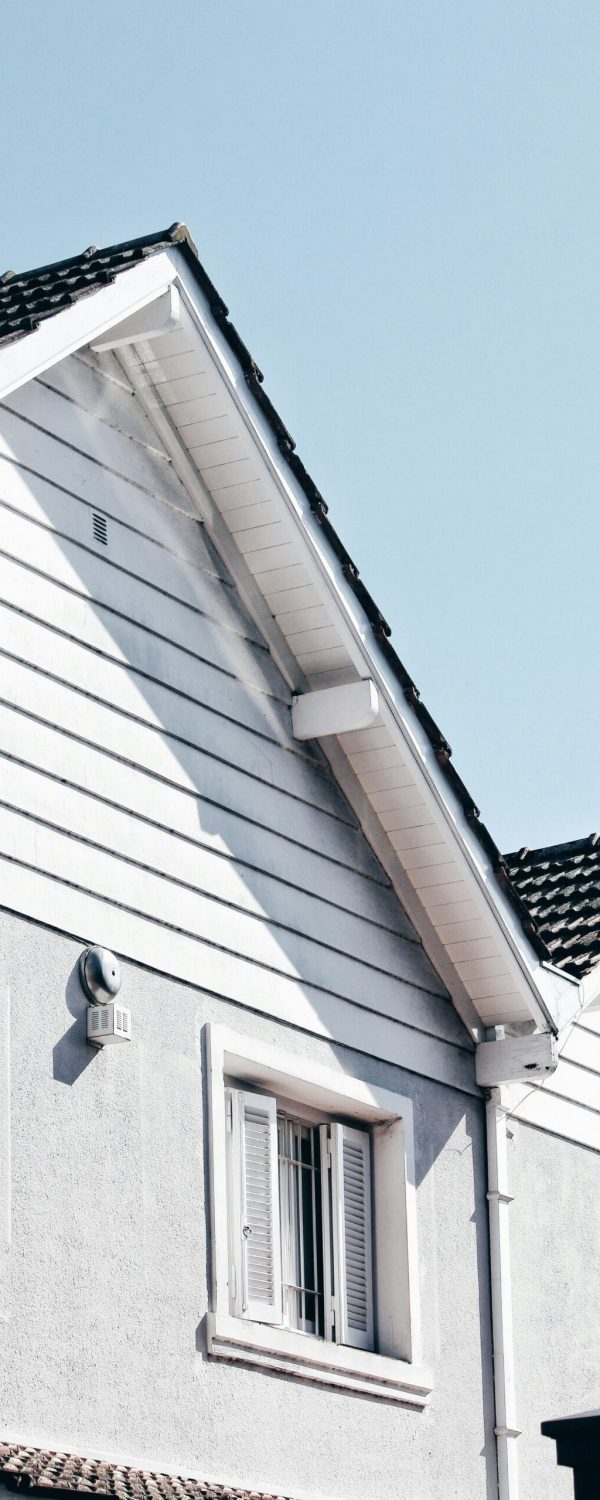
Check for cracks or dents in the soffits and fascia boards, as these areas can also be affected by strong winds and flying debris during storms
Sagging Roof Areas
Any noticeable sagging or unevenness in the roofline can indicate structural issues, often caused by water accumulation or weakened supports due to storm damage
Debris Accumulation
The presence of tree limbs, branches, or other debris on the roof can signal potential damage. Large branches may have caused punctures or other issues that need immediate attention.
Visible Cracks or Holes
Inspect for any visible cracks, holes, or punctures in the roofing material that could allow water infiltration. Even small openings can lead to significant problems if left unchecked
Best Practices and Tips on Inspecting Room After Storm
After a storm, it’s crucial to inspect your roof for any potential damage to ensure the safety and integrity of your home. Here are best practices for conducting a thorough roof inspection:

1. Safety First
Before beginning your inspection, prioritize safety. Wait until the storm has completely passed and conditions are stable. Wear appropriate footwear with good traction, and avoid climbing onto the roof if it is wet or slippery. If you feel uncomfortable with heights, consider using binoculars for a ground-level inspection or hiring a professional.
2. Ground-Level Inspection
Start by walking around your property to look for visible signs of damage. Check for:
- Missing or Displaced Shingles: Look for shingles that may have been blown off or shifted out of place.
- Damaged Flashing: Inspect metal flashing around chimneys, vents, and skylights for any signs of bending or detachment.
- Debris Accumulation: Note any branches, leaves, or other debris that may have landed on the roof.
3. Use Binoculars
If you prefer not to climb onto the roof, use binoculars to get a closer look at hard-to-see areas. Focus on:
- Shingle Condition: Look for cracked, curled, or bruised shingles.
- Granule Loss: Check for granules in gutters or downspouts, which can indicate significant wear on asphalt shingles.
4. Inspect Protruding Features
Pay special attention to protruding features such as chimneys and skylights. Check for:
- Cracks or Breaks: Look for any visible damage that could compromise waterproofing.
- Dislodgement: Ensure these features are securely in place.
5. Check Gutters and Downspouts
Inspect gutters for clogs caused by debris from the storm. Ensure they are:
- Clear of Debris: Remove any blockages to allow proper drainage.
- Securely Attached: Check that gutters are firmly attached to prevent water overflow.
6. Examine Attic and Ceiling
Look inside your attic and check ceilings for signs of water intrusion:
- Water Stains: Look for discoloration on ceilings or walls that could indicate leaks.
- Wet Insulation: Inspect insulation for dampness, which suggests potential leaks from above.
7. Document Findings
Take notes or photos of any damage you observe during your inspection. This documentation will be useful if you need to file an insurance claim or schedule repairs.
8. Call a Professional
If you notice significant damage or feel uncertain about your assessment, contact a roofing professional. They have the expertise and tools necessary to conduct a thorough inspection and identify issues that may not be visible to the untrained eye.